How to assemble your floor
These steps are for the full package, you might not need all of them.
Installation Tutorials
Watch our videos below for guidance on installing your Versoflor Garage Flooring.
Preparing Your Floor
Guidance on preparing your floor prior to laying.
Fitting Your Floor
How to lay your floor for best results.
Cutting your Floor
Guidance on cutting your floor when required.
Self Install, Made Easy
Follow these simple steps to install your garage floor tiles
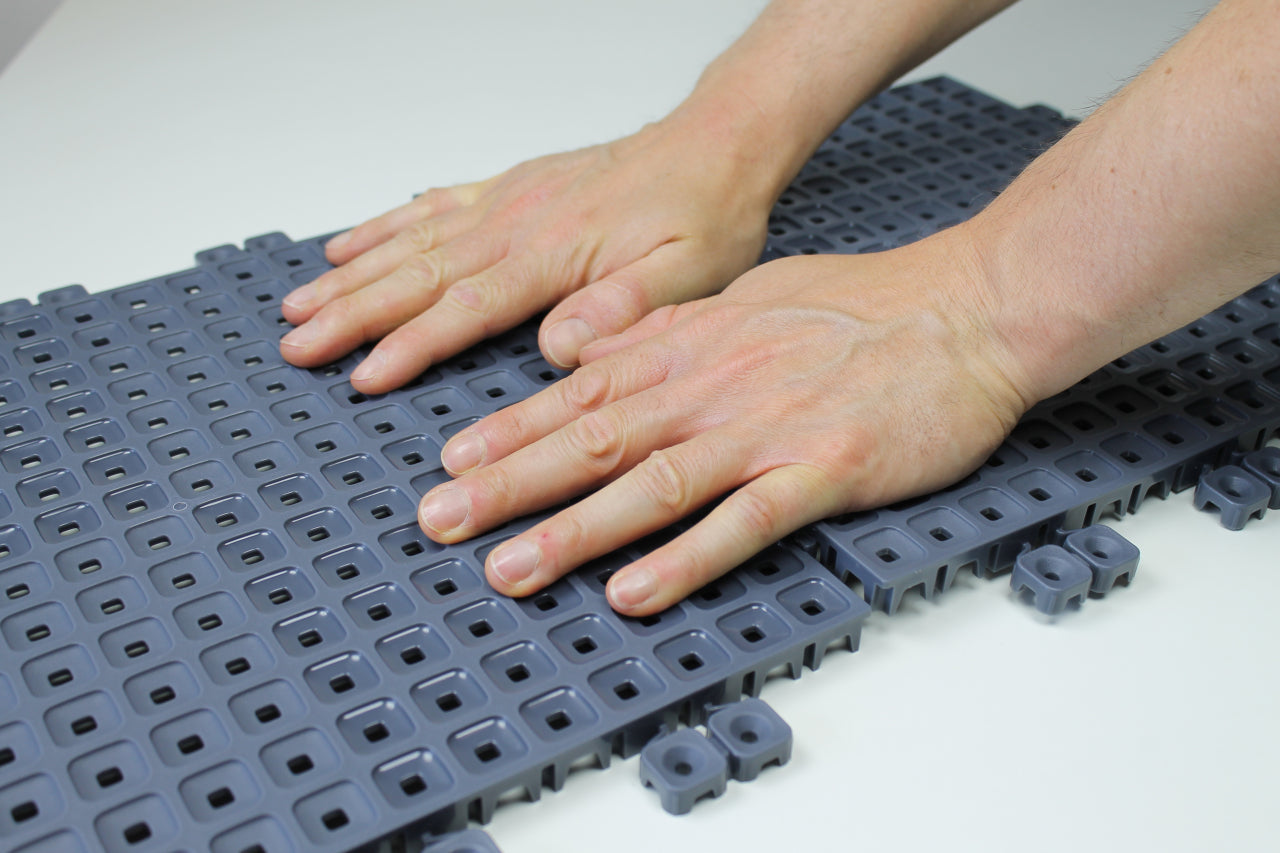
Step 1
Tile assembly: simply align one tile over the connectors and another tile. Push down to snap securely together.
NOTE: There will be a 2.4mm expansion gap between the tiles once assembled.
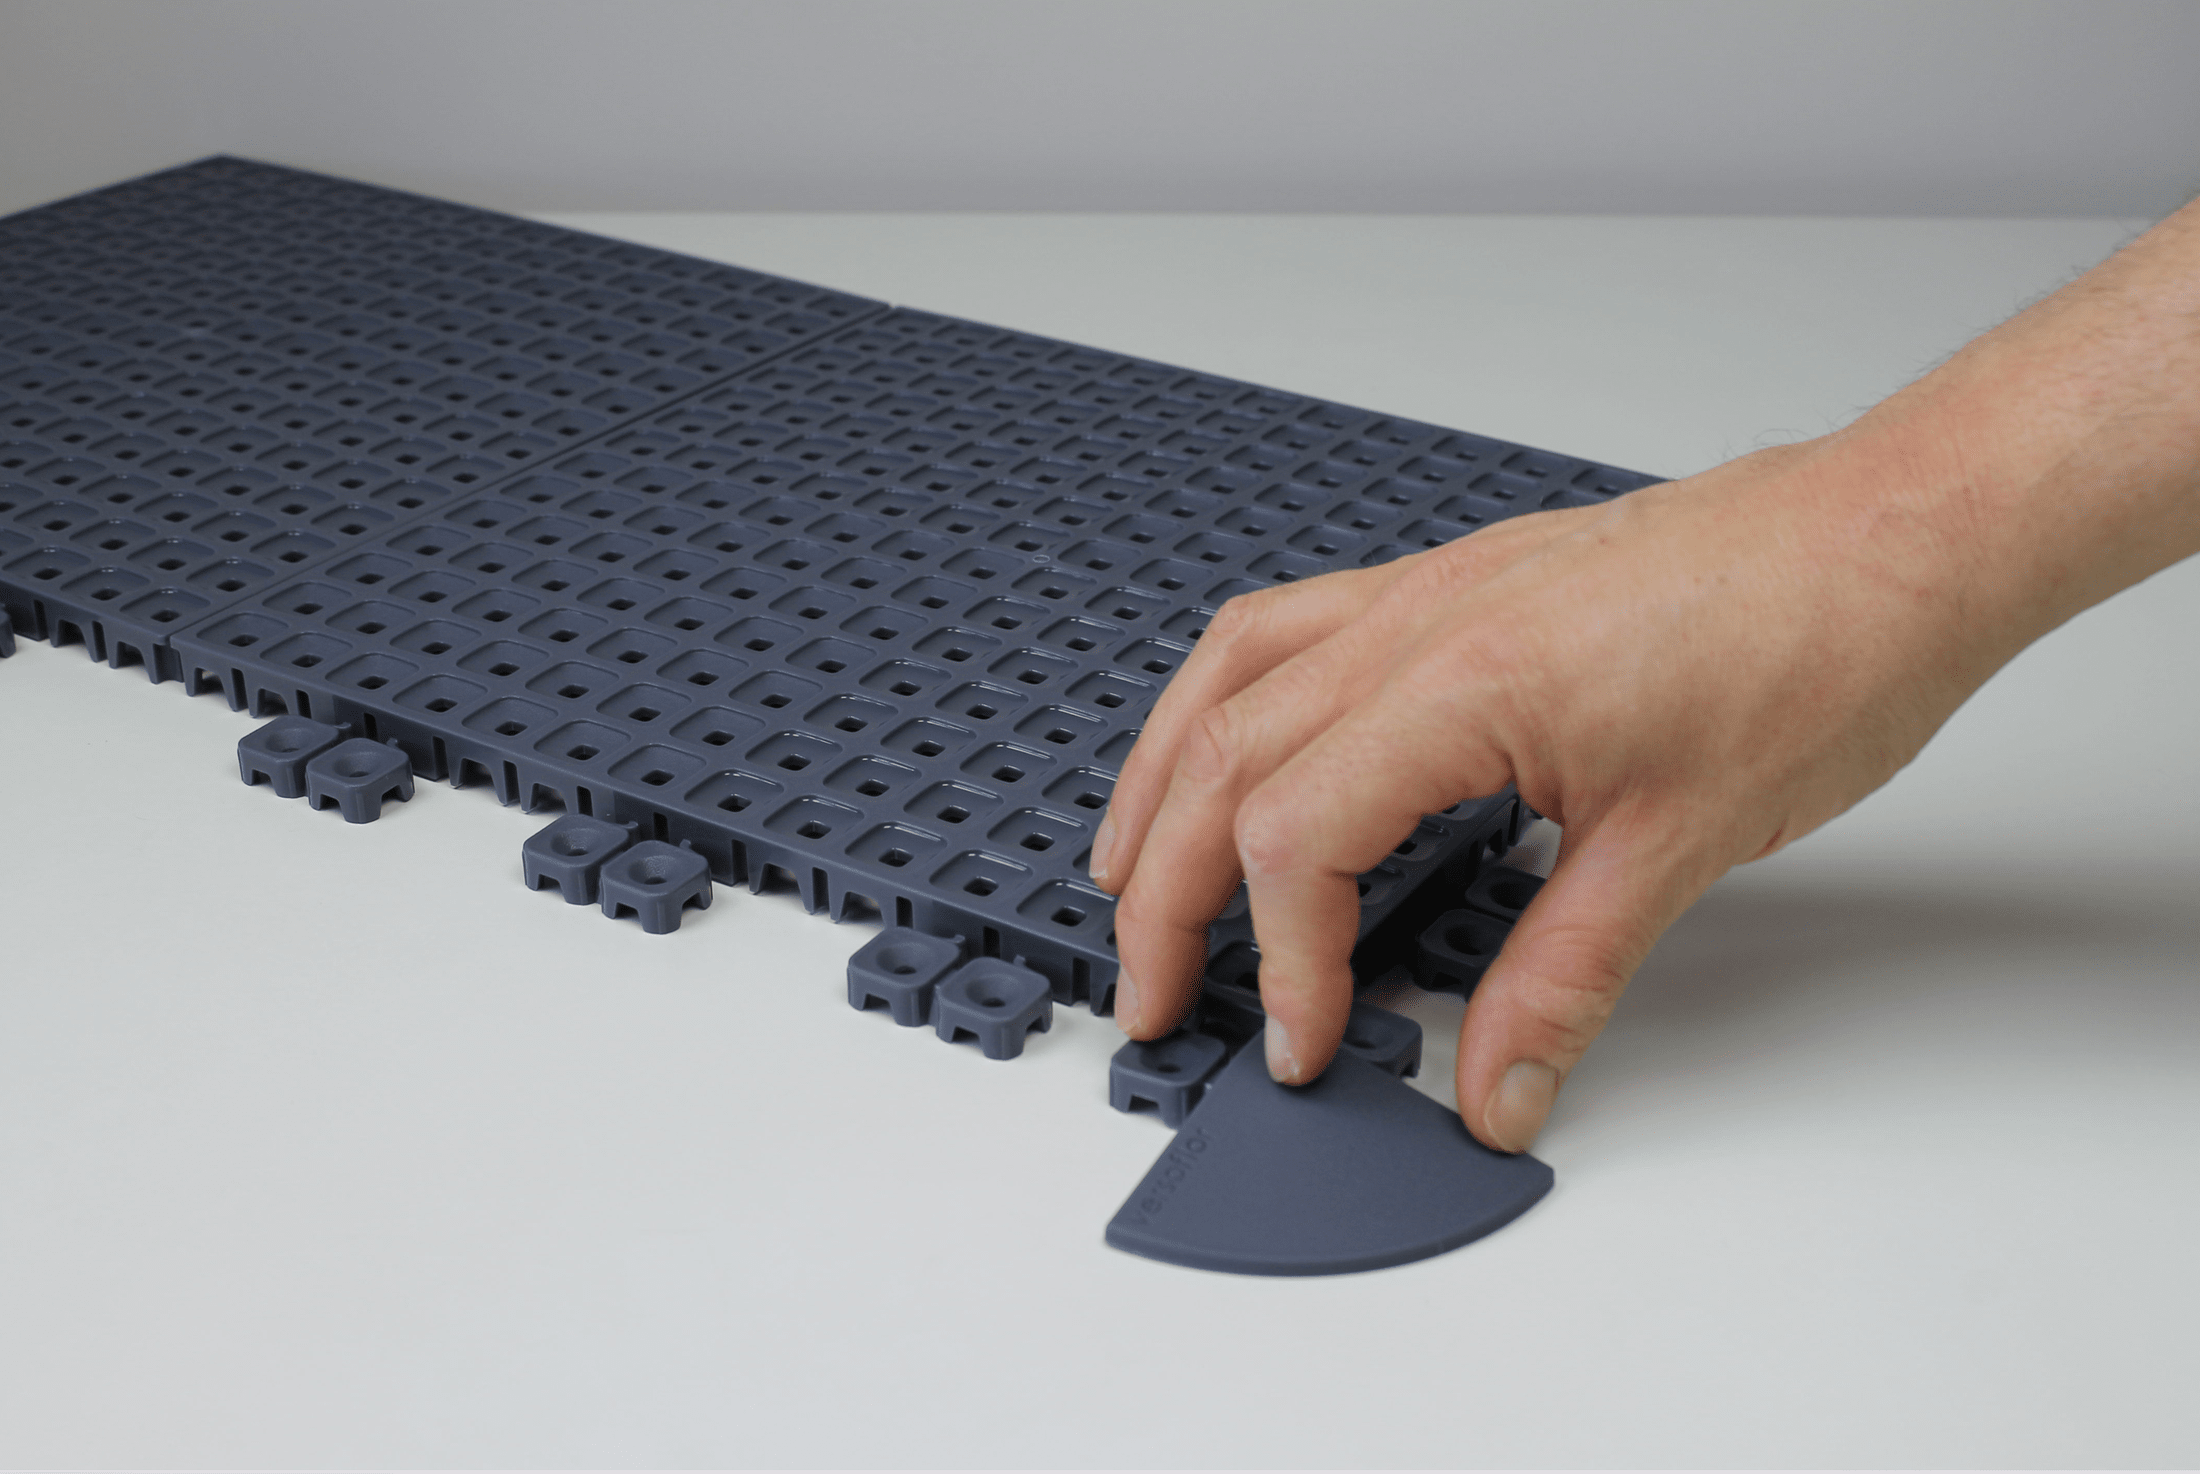
Step 2
Edge trim assembly: put corner trim in position, then push edge trim into available connectors and snap securely together.

Step 3
Adding connectors: where there are no edge connectors on the tile, simply use a 'tile' connector'. Simply lift and push it beneath.
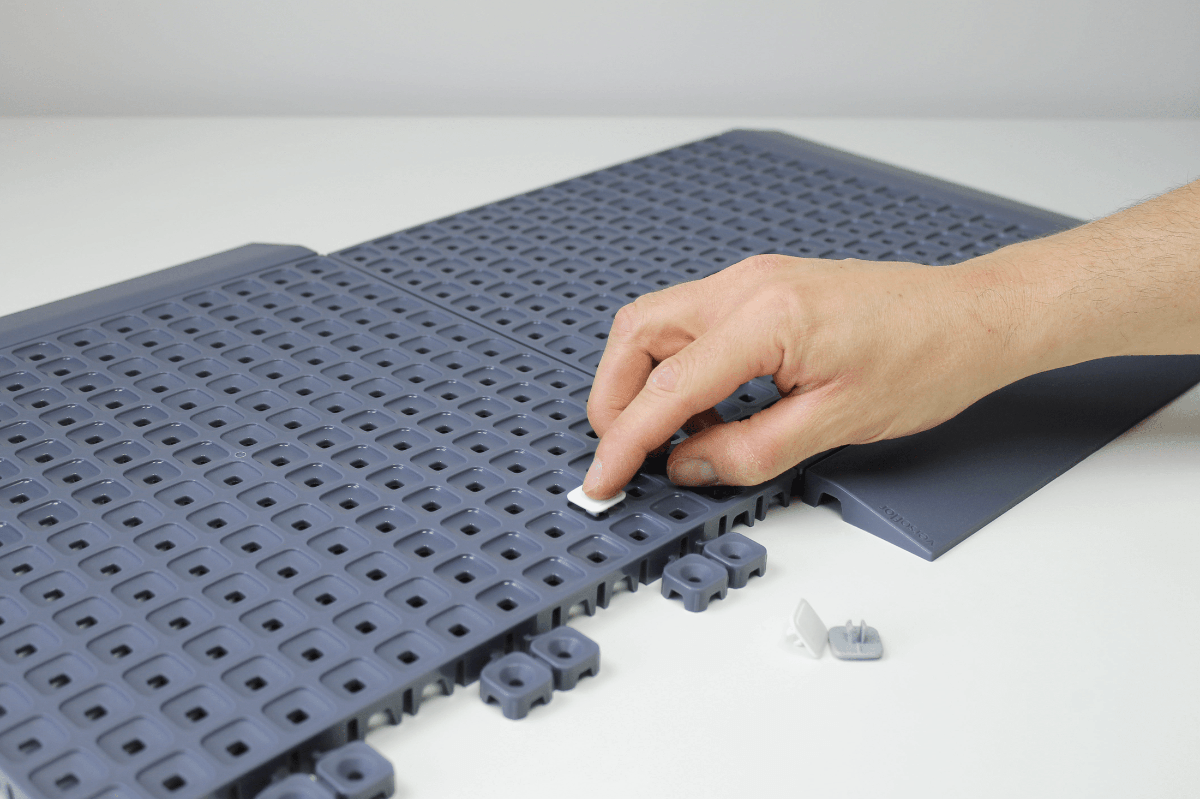
Step 4
Mosaic Insertion: choose any of the square holes and push mosaic in securely. To remove mosaics, overturn the tile and use pliers.
Top Tip: design the pattern with overturned tiles and then push them into place once happy wth the design.
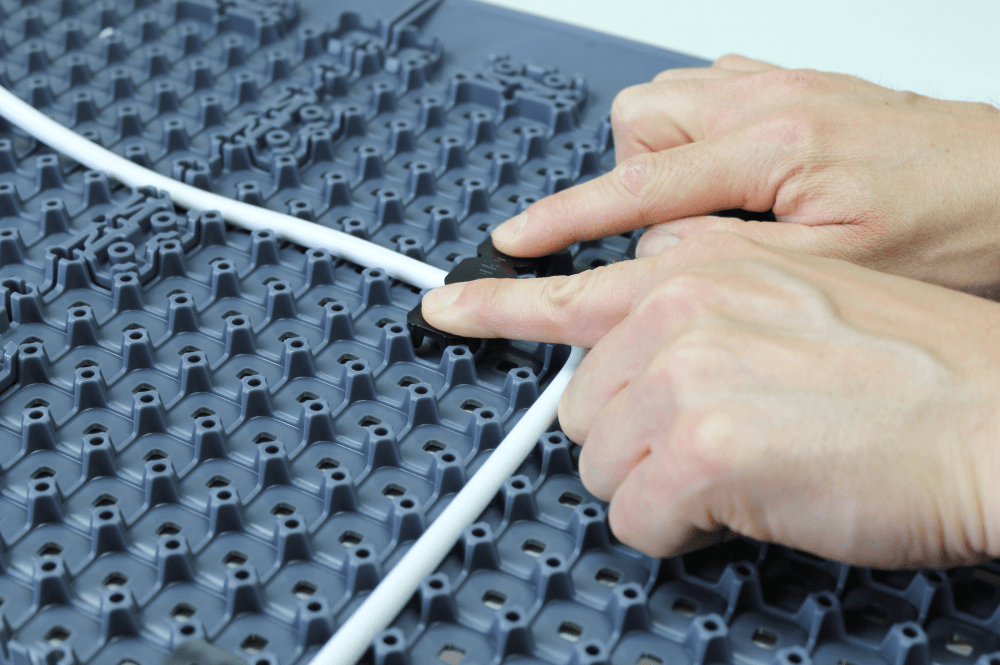
Step 5
Cable clip: for cable management and use with LED strips, simply push into place as shown above.
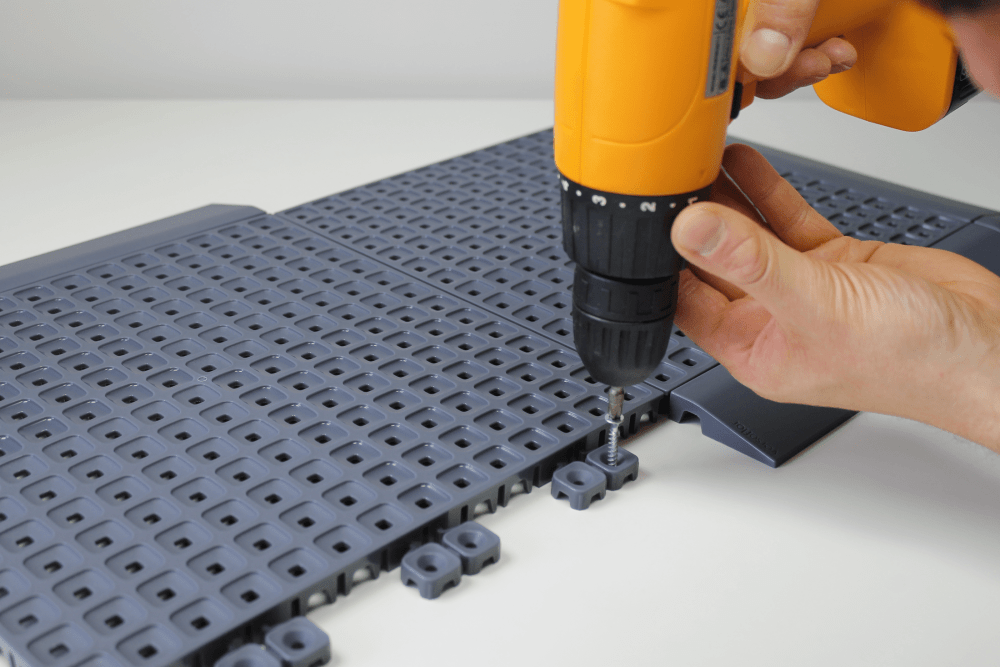
Step 6
Tile fixing: this it NOT ESSENTIAL, but if you want to secure the floor to ground, use a No 6-8 wood screw. This is concealed by the adjacent tile or edge trim.
Top Tip: Fixing is ideal for the front edge of a garage space to prevent the tiles from moving as a vehicle drives onto the flooring
Step by Step Installation Guide
Download our handy step by step guide to help you through the floor laying process
(Click to open, or right click to save as)
Kits for Type of Every Space
Versoflor garage flooring kits are designed to fit standard single and double garage sizes, making it easy to upgrade your space without complex planning. Each kit includes interlocking tiles, edge ramps and all required components for a complete installation.
Check out or Installation Walkthrough
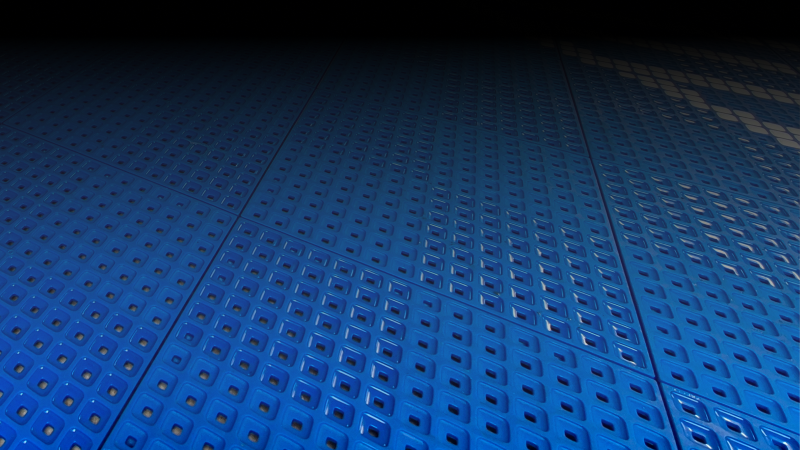
Interlocking Garage Floor System
Our modular flooring system uses precision-engineered tiles that click together without adhesives or specialist tools. This allows for fast installation and the flexibility to remove, adjust or expand your layout at any time.
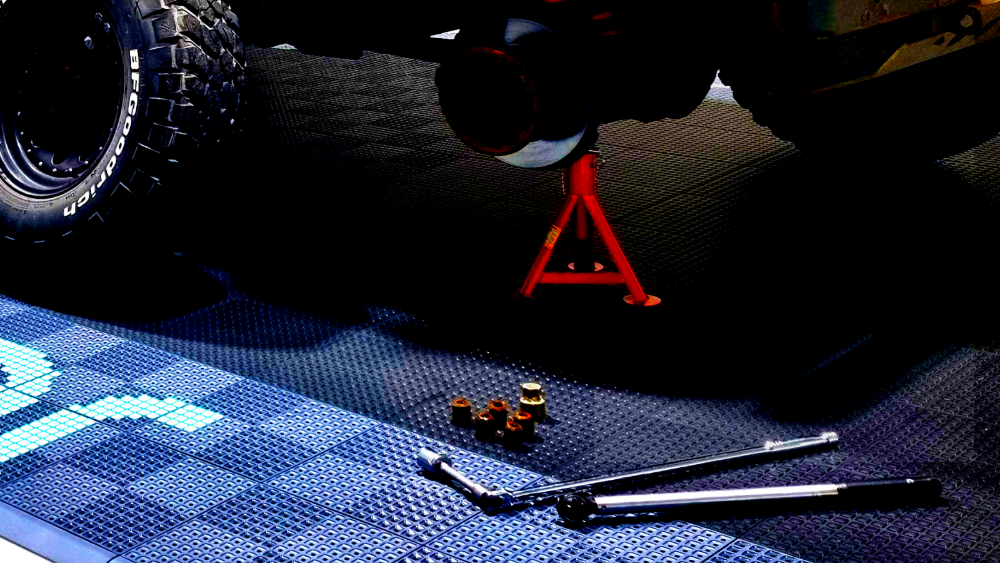
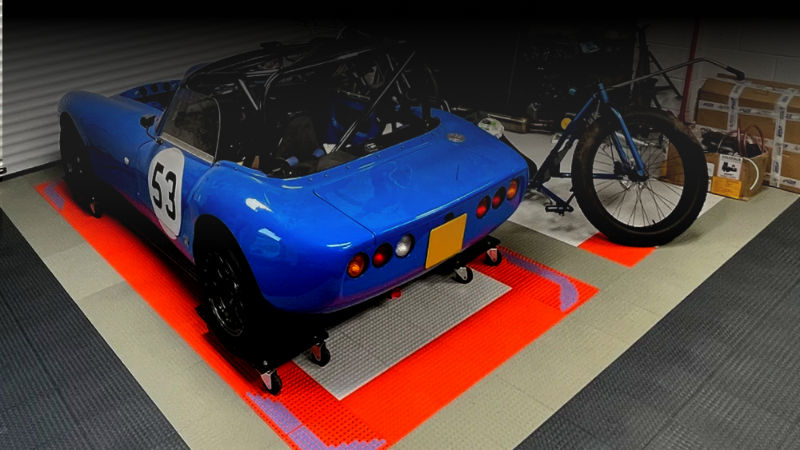
Built for Durability & Performance
Versoflor tiles are engineered to handle heavy vehicles, daily use and demanding environments. The system is resistant to wear, easy to clean and designed to maintain its appearance over time.
Get a Sample Pack